
Of all the recipes that conjure up a feeling of pure, unadulterated nostalgia, this one sits right at the top of the list. I remember the first time I made these No-Bake Cereal Squares as a kid, standing on a kitchen stool, my mom guiding my hands as I stirred the gloriously sticky marshmallow mixture. The smell of melting butter and sugar filled the entire house, a scent that, to this day, signals comfort and simple joy. Now, as a parent myself, I’ve passed this tradition on. Just last week, on a particularly gloomy afternoon, my kids were feeling restless. Instead of turning on a screen, I pulled out a box of crisped rice cereal, a bag of marshmallows, and a stick of butter. Their eyes lit up. The process was messy, with sticky fingers and a few rogue marshmallows “disappearing” before they hit the pot, but the result was pure magic. We cut them into chunky squares while they were still slightly warm, that perfect state of gooey and crispy. The verdict? An overwhelming two thumbs up, followed by a request to make them again the very next day. This recipe isn’t just a dessert; it’s an experience. It’s the proof that you don’t need a complicated list of ingredients or hours of effort to create something truly wonderful and memorable for your family.
The Ultimate No-Bake Cereal Squares: An Irresistibly Easy Recipe
Welcome to what might just be the most versatile, beloved, and foolproof dessert in the modern recipe canon. These No-Bake Cereal Squares are the champion of bake sales, the star of potlucks, and the savior of last-minute dessert emergencies. They require just three simple ingredients and a little bit of stovetop magic to transform into a treat that satisfies both kids and adults. The beauty of this recipe lies in its simplicity and the perfect textural contrast it offers: the airy, satisfying crunch of the cereal is perfectly enveloped by the soft, sweet, and chewy embrace of melted marshmallow. It’s a sensory delight that’s as fun to make as it is to eat. Whether you’re a seasoned baker or someone who shies away from the oven, this recipe is for you. It’s a canvas for your creativity, a nostalgic trip back to childhood, and a guaranteed crowd-pleaser, all rolled into one deliciously simple square.
Ingredients
The foundation of this iconic treat rests on a trinity of simple, accessible ingredients. The quality and type of each one can subtly influence the final outcome, so let’s break down what you’ll need.
- 3 Tablespoons Salted Butter: This is the flavor foundation. Using salted butter adds a crucial depth and cuts through the sweetness of the marshmallows, creating a more balanced and nuanced flavor profile. It also helps in greasing the pot and preventing the marshmallows from sticking too aggressively.
- 1 Package (10 ounces) Fresh Marshmallows: The heart and soul of the recipe. Freshness is key here; older marshmallows tend to dry out and won’t melt into a smooth, gooey consistency. Mini marshmallows are often preferred as they melt more quickly and evenly, but a standard-size bag works perfectly well too. They provide the sweetness, the chewiness, and the magical “glue” that holds everything together.
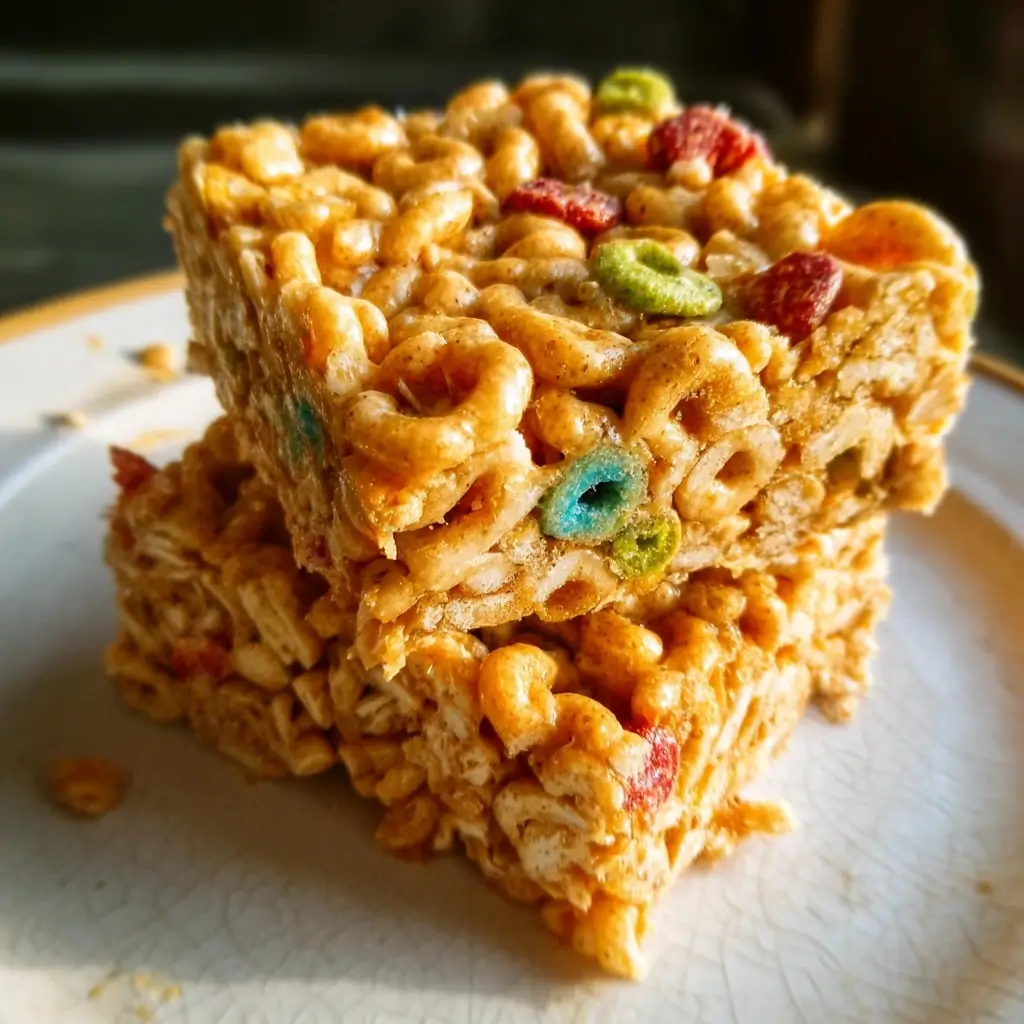
- 6 Cups Crisped Rice Cereal: The crunch and substance. The classic choice is crisped rice cereal for its light, airy texture and satisfying crunch that holds up well against the marshmallow coating. However, this is where you can get creative, as many other cereals work wonderfully too (more on that later!).
Instructions
Follow these detailed steps carefully to ensure your cereal squares turn out perfectly soft, chewy, and delicious every single time. The process is quick, so having everything measured and ready to go is highly recommended.
- Preparation is Key: Begin by taking a 13x9x2-inch rectangular baking pan. To prevent the sticky mixture from permanently bonding to your pan, you must grease it thoroughly. You can use a piece of the butter wrapper to rub a thin layer of butter all over the bottom and up the sides. Alternatively, use a non-stick cooking spray. For even easier removal and cleanup, line the pan with parchment paper, leaving a bit of overhang on the sides to act as “handles” for lifting the squares out later. Set the prepared pan aside.
- Melt with Care: In a large saucepan or a Dutch oven, melt the 3 tablespoons of salted butter over low heat. It’s crucial to use low heat throughout this process. High heat can cause the butter to brown too quickly and, more importantly, can scorch the sugars in the marshmallows, resulting in a hard, brittle final product with a slightly burnt taste. You want the butter to just melt into a golden pool.
- The Marshmallow Meltdown: Once the butter is fully melted, add the entire 10-ounce package of marshmallows to the pot. Continue to cook over low heat, stirring constantly with a rubber spatula or wooden spoon. The marshmallows will slowly begin to soften, then collapse, and finally melt into a smooth, creamy, and gloriously sticky white sauce. Be patient here. Don’t be tempted to crank up the heat to speed it up. Keep stirring until the mixture is completely smooth and free of any lumps. Once melted, immediately remove the pot from the heat.
- Fold, Don’t Crush: Now it’s time to introduce the cereal. Pour all 6 cups of the crisped rice cereal into the pot with the melted marshmallow mixture. Using a well-greased spatula (this is a game-changer to prevent sticking!), gently fold the cereal into the marshmallow. The key word here is fold. You want to gently turn the mixture over on itself, scraping from the bottom and bringing it to the top, until every single piece of cereal is evenly coated. Avoid vigorous stirring, which can crush the delicate cereal and result in a dense, less-airy treat.
- The Gentle Press: Once the cereal is evenly coated, immediately transfer the sticky mixture into your prepared baking pan. The mixture will be very sticky. To press it into the pan, you can use the back of your greased spatula. An even better trick is to take a piece of wax paper and lightly spray it with cooking spray, then use it to press the mixture down evenly into the pan. Press just firmly enough to create an even layer that fills the corners. Important: Do not compact the mixture down with all your strength. Over-compressing is a common mistake that leads to hard, dense bars. A gentle, even press is all you need.
- Patience and Cooling: Set the pan aside on a countertop to cool completely. This usually takes about 1 hour at room temperature. This cooling and setting time is essential for the squares to firm up enough to be cut cleanly. Do not refrigerate the bars to speed up the process, as this can make them unpleasantly hard.
- Cut and Enjoy: Once the slab of cereal treats is completely cool and firm to the touch, it’s time for the final step. If you used parchment paper, you can lift the entire block out of the pan using the overhangs and place it on a cutting board. Use a large, sharp knife to cut the block into squares or rectangles. For the cleanest cuts, you can lightly grease the knife with butter or cooking spray between slices. Now, all that’s left to do is serve and enjoy the fruits of your (very minimal) labor!
Nutrition Facts
While these are certainly a treat, here is a general nutritional overview. Please note these are estimates and can vary based on specific brands and ingredients used.
- Servings: This recipe makes approximately 12 generous squares.
- Calories per serving: Around 150-180 calories. This makes it a relatively light indulgence, providing a quick burst of energy from its simple ingredients.
- Carbohydrates: The primary source of energy in these squares, coming from both the cereal and the sugar in the marshmallows. They offer a quick pick-me-up.
- Fat: Mostly derived from the butter, fat adds richness and flavor, making the treat more satisfying and contributing to its soft texture.
- Sugar: A significant component from the marshmallows, sugar provides the sweetness and the classic “treat” factor that makes these bars so irresistible.
Preparation Time
One of the most appealing aspects of this recipe is how incredibly fast it is. There’s no waiting for dough to rise or for an oven to preheat.
- Active Preparation Time: Approximately 10-15 minutes. This includes gathering and measuring ingredients, melting the butter and marshmallows, and mixing and pressing the bars into the pan.
- Setting Time: Approximately 1 hour. This is the inactive time where the magic happens, as the bars cool and set at room temperature, firming up to the perfect chewy consistency.
How to Serve
These No-Bake Cereal Squares are wonderfully versatile. They can be dressed up or down for any occasion. Here are some creative ways to serve them:
- The Classic Square:
- Cut into traditional 2×2 inch squares and serve on a platter. It’s simple, classic, and perfect for any gathering.
- Stack them high on a cake stand to create an impressive-looking tower for a party centerpiece.
- For the Kids:
- Use cookie cutters (stars, hearts, dinosaurs) to cut the cooled slab into fun shapes before they have fully hardened.
- Insert a popsicle stick or a colorful paper straw into the bottom of each square to create “Cereal Pops,” which are easier for little hands to hold.
- Let the kids decorate their own squares with a “decorating bar” of sprinkles, mini chocolate chips, and colored icing tubes.
- Elevated for Adults:
- Cut into smaller, bite-sized rectangles and arrange on a dessert board alongside fresh berries and a dark chocolate dipping sauce.
- Pair a square with a scoop of high-quality vanilla bean ice cream for a delightful contrast of temperatures and textures.
- Serve alongside a hot cup of coffee or a latte. The simple sweetness of the bar is a perfect complement to the rich, bitter notes of the coffee.
- For Parties and Bake Sales:
- Individually wrap squares in cellophane bags and tie them with a festive ribbon. This makes for a great party favor or an easy-to-sell item at a bake sale.
- Drizzle the top of the entire slab with melted white, milk, or dark chocolate before cutting. You can also add a sprinkle of flaky sea salt on top of the chocolate for a gourmet touch.
Additional Tips
Take your No-Bake Cereal Squares from good to absolutely phenomenal with these eight expert tips.
- Grease Everything: The melted marshmallow mixture is notoriously sticky. Your best defense is a good offense. Grease your pan, your spatula, your hands (if you use them to press), and the knife you use for cutting. A thin layer of butter or non-stick spray will be your best friend and save you from a sticky, frustrating mess.
- The Freshness Factor is Real: Always use a fresh bag of marshmallows. Marshmallows that have been sitting in the pantry for months tend to dry out. This moisture loss means they won’t melt as smoothly and can lead to a grainy texture and a treat that hardens into a rock. Fresh, pillowy marshmallows are essential for that signature soft chew.
- Low and Slow is the Way to Go: When melting your butter and marshmallows, resist the urge to turn up the heat. High heat caramelizes and scorches the sugar in the marshmallows. This is the number one culprit behind hard, brittle cereal treats. Keep the flame low, stir constantly, and be patient. The reward is a perfectly soft and gooey texture.
- Don’t Over-Mix: When you combine the cereal with the marshmallow mixture, fold gently until just combined. The goal is to coat the cereal, not to beat it into submission. Over-mixing can break and crush the delicate cereal, which will result in a treat that is dense and compact rather than light and airy.
- The Gentle Press Technique: When you transfer the mixture to the pan, press it down gently. Use just enough pressure to create an even layer and get it into the corners. If you compact it with too much force, you squeeze out all the air pockets, which is what keeps the bars soft and chewy. A light touch is the secret to the perfect texture.
- Unleash Flavor with Extracts: A simple way to customize your squares is by adding a teaspoon of extract along with the melted marshmallows (after removing from the heat). Vanilla extract is a classic choice that enhances the flavor, but you can also experiment with almond, peppermint (for holidays), or even cake batter extract for a fun twist.
- Get Creative with Cereal Combos: While crisped rice is the standard, don’t be afraid to experiment! Try using other cereals or a combination of them. Golden Grahams, Cinnamon Toast Crunch, Cocoa Puffs, Cheerios, or colorful fruity cereals all make fantastic variations. Just be sure to stick to the same 6-cup measurement.
- Master the Perfect Cut: For beautifully clean, professional-looking squares, allow the slab to cool completely. Use a large, sharp chef’s knife. For extra precision, run the knife under hot water and wipe it dry before each cut, or simply wipe it with a greased paper towel. This prevents the marshmallow from sticking to the blade and dragging.
FAQ Section
Here are answers to some of the most frequently asked questions about making No-Bake Cereal Squares.
1. Why did my cereal squares turn out hard and brittle?
This is the most common issue and it almost always has one of two causes. First, you may have cooked the marshmallows over too high of a heat or for too long. Overcooking the sugar in the marshmallows is like making candy, causing it to harden as it cools. Always use low heat. The second cause is pressing the mixture too firmly into the pan, which compacts it and removes all the air. Remember to use a gentle press.
2. Can I use different types of cereal?
Absolutely! This is one of the best ways to customize the recipe. You can substitute the crisped rice cereal with the same volume (6 cups) of many other cereals. Popular choices include puffed corn cereals (like Corn Pops), toasted oat cereals (like Cheerios), wheat squares (like Chex), or even sugary kids’ cereals like Froot Loops or Cocoa Pebbles for a fun, colorful, and extra-sweet version.
3. How should I store my cereal squares to keep them fresh?
The best way to store them is in an airtight container at room temperature. They will stay fresh and chewy for up to three days. To prevent the squares from sticking together, you can place a small piece of wax paper or parchment paper between the layers. Avoid refrigerating them, as the cold temperature and humidity can make them tough and stale-tasting.
4. Can I freeze No-Bake Cereal Squares?
Yes, you can freeze them for longer storage. Cut them into individual squares first, then wrap each square tightly in plastic wrap, followed by a layer of aluminum foil or placement in a freezer-safe zip-top bag. They can be frozen for up to 6 weeks. To serve, simply let them thaw at room temperature for about an hour.
5. My mixture is incredibly sticky and hard to work with. What can I do?
This is normal! The key is to grease your tools. Before you start pressing the mixture into the pan, make sure your spatula is well-greased with butter or cooking spray. If you use your hands, grease them as well. Another popular and effective method is to use a piece of wax paper or parchment paper as a barrier between your hands/spatula and the sticky mixture.
6. Can I make this recipe vegan or dairy-free?
Yes, it’s quite easy to adapt. For a dairy-free version, simply substitute the butter with a high-quality dairy-free butter substitute or coconut oil. To make it fully vegan, you will also need to use vegan marshmallows, as traditional marshmallows contain gelatin, which is an animal product. Vegan marshmallows are readily available in most health food stores and online.
7. What are some fun mix-ins I can add to my cereal squares?
The possibilities are endless! Mix-ins should be folded in at the very end with the cereal. Consider adding mini chocolate chips, M&Ms, chopped nuts, shredded coconut, or colorful sprinkles. For a salty-sweet kick, try adding crushed pretzels or potato chips. Stir in about a cup of your chosen mix-in for the best distribution.
8. I used an old bag of marshmallows and they wouldn’t melt properly. Why?
Old marshmallows have lost a significant amount of their moisture content. They become dry and slightly tough. When you try to melt them, they don’t have enough water to break down into a smooth, fluid liquid. Instead, they often become a clumpy, grainy, and overly sticky mess. For the best results and a smooth melt, always start with a fresh, soft bag of marshmallows.
A Timeless Treat for All Ages
There you have it—the complete guide to mastering the simple art of the No-Bake Cereal Square. It’s more than just a recipe; it’s a building block for creativity, a vessel for nostalgia, and a reliable source of smiles. Its beauty lies in its forgiving nature and its endless adaptability. Whether you stick to the classic three-ingredient formula or venture out with new cereals, mix-ins, and flavors, the result is always a comforting, delicious treat. So the next time you need a quick dessert, a fun kitchen project with the kids, or a simple taste of happiness, pull out this recipe. You’re only about 15 minutes away from a pan full of pure, gooey, crispy perfection.