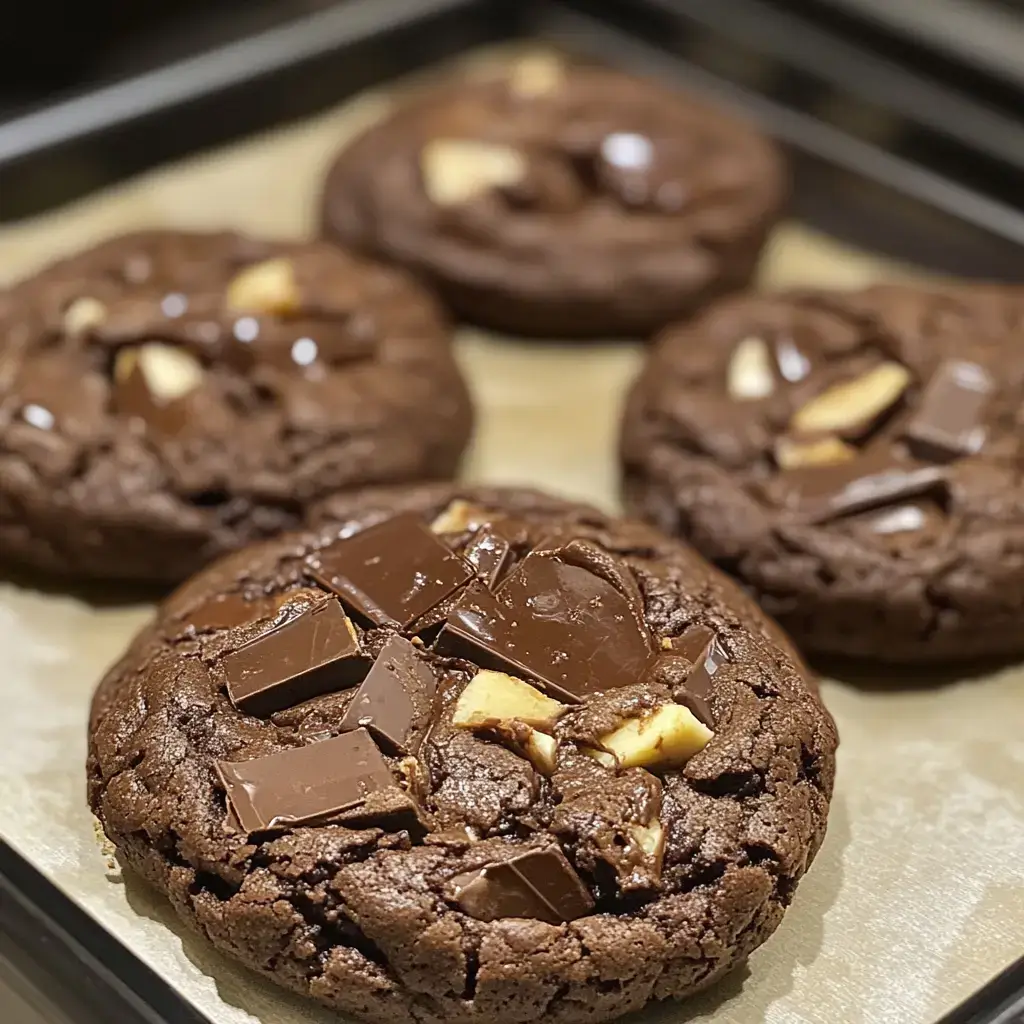

If you’re a fan of chocolate, brownies, or cookies, then you’re in for a treat with these Easy Chocolate Brownie Cookies. Combining the best of both worlds, these cookies offer the rich, fudgy texture of brownies with the convenience and portability of cookies. Whether you’re baking for a special occasion or simply want to indulge your sweet tooth, these cookies are sure to impress. Let’s dive into the ingredients, the step-by-step instructions, and some useful tips to perfect your baking experience.
Ingredients
Creating these delectable cookies requires a handful of basic ingredients that you might already have in your pantry. Here’s what you’ll need:
- 225 g dark chocolate (50% – 70% cacao)
- 65 g butter
- 100 g all-purpose flour
- 1 tsp baking powder
- 2 eggs
- 80 g granulated sugar
- 80 g brown sugar (packed)
Instructions
1. Melt the Chocolate
The first step in creating these scrumptious cookies is to melt the chocolate. You can do this using a microwave or on the stove:
- Microwave Method: Place the dark chocolate and butter in a microwave-safe bowl. Heat in 30-second intervals, stirring in between, until both are completely melted and smooth.
- Stove Method: Use a double boiler to melt the chocolate and butter. Stir until smooth and well combined. Once melted, let it cool.
2. Mix Dry Ingredients
In a small bowl, combine the dry ingredients:
- 100 g all-purpose flour
- 1 tsp baking powder
- Add a pinch of salt to enhance the flavors.
3. Prepare the Mixture
In a large bowl, whisk together:
- 2 eggs
- 80 g granulated sugar
- 80 g brown sugar
Whisk until the mixture becomes creamy. Pour in the cooled, melted chocolate and mix until fully combined.
4. Combine Everything
Gradually add the dry mixture into the wet mixture. Stir until a thick dough forms, ensuring all ingredients are well incorporated.
5. Chill the Dough
Cover the bowl with plastic wrap and refrigerate for 1–2 hours. If you’re in a hurry, freeze the dough for 30 minutes for easier handling.
6. Shape the Cookies
Preheat your oven to 180°C (350°F). Scoop out the dough and roll it into walnut-sized balls. Place them onto a lined baking sheet, ensuring there’s space between each cookie for expansion during baking.
7. Bake
Place the baking sheet in the oven and bake for 8–10 minutes. The cookies should be soft when removed, as they will firm up while cooling.
8. Cool and Store
Let the cookies cool on a wire rack. Enjoy them fresh or store in an airtight container for up to 14 days to maintain their freshness.
Nutrition Facts
Understanding the nutritional content can help you enjoy these cookies as part of a balanced diet. Here are the approximate nutrition facts per cookie (based on 20 cookies):
- Calories: 150
- Protein: 2g
- Fat: 7g
- Carbohydrates: 20g
How to Serve
These chocolate brownie cookies are not only delicious but also remarkably versatile, allowing you to enjoy them in a variety of delightful ways that cater to different occasions and preferences. Below are several serving suggestions that will enhance your experience with these decadent treats:
1. With Milk: A Classic Combination
There’s something timeless about the pairing of cookies and milk. The rich, fudgy texture of chocolate brownie cookies complements the cool creaminess of milk perfectly. Consider serving them warm, straight from the oven, for an indulgent experience. The warmth of the cookies will slightly melt the chocolate chips, creating a gooey center that contrasts beautifully with the cold milk. For an added twist, try flavored milk—such as chocolate, vanilla, or even almond milk— to elevate this classic combination. Present the cookies on a rustic wooden board alongside a chilled glass of milk for an inviting and nostalgic feel.
2. Ice Cream Sandwiches: A Decadent Treat
Transform your chocolate brownie cookies into luscious ice cream sandwiches that are sure to impress! Choose your favorite ice cream flavor—vanilla, mint chocolate chip, or even salted caramel work wonderfully. Simply take two cookies and scoop a generous amount of ice cream between them, pressing gently to create a sandwich. For added flair, roll the edges of the ice cream sandwich in mini chocolate chips, sprinkles, or crushed nuts. You can also freeze the sandwiches for a few hours to create a firmer texture, perfect for a hot summer day. Serve them on a decorative plate with a drizzle of chocolate or caramel sauce for a visually stunning dessert that’s as delicious as it is beautiful.
3. Coffee Companion: The Perfect Afternoon Snack
For a delightful afternoon pick-me-up, pair your chocolate brownie cookies with a steaming cup of coffee or a soothing cup of tea. The deep, rich flavors of coffee harmonize with the sweetness of the cookies, enhancing their chocolatey goodness. If you’re a fan of espresso, consider making an affogato by pouring a shot of hot espresso over a brownie cookie for a simple yet sophisticated dessert. Alternatively, for tea lovers, a robust black tea or a fragrant chai can complement the flavors beautifully. Create a cozy atmosphere by serving these treats on a small tray with your beverage of choice, perhaps with a few fresh berries or a sprinkle of powdered sugar for an elegant touch.
4. Dessert Platter: A Festive Addition for Gatherings
When hosting a party or gathering, these chocolate brownie cookies can be a star attraction on your dessert platter. Arrange them alongside an assortment of other treats like fruit tarts, mini cheesecakes, or bite-sized pastries to create an enticing display. You can also incorporate a variety of brownie cookies—some with nuts, others with caramel swirls, or sprinkled with sea salt—to add visual interest and cater to diverse tastes. For a festive touch, garnish the platter with fresh mint leaves or edible flowers, and provide small dessert plates and napkins for easy serving. This not only makes for an eye-catching centerpiece but also invites guests to indulge in a delightful array of flavors and textures.
5. Gourmet Gift Idea: Homemade Treats
Consider packaging these chocolate brownie cookies as a gourmet gift for friends and family. Stack them in a decorative tin or a clear cellophane bag tied with a ribbon for a thoughtful homemade present. You could even include a personalized note or a recipe card if you’re feeling generous. These cookies make for an excellent gift during the holiday season, birthdays, or any celebratory occasion. To make the gift even more special, pair the cookies with a small bottle of homemade chocolate sauce or a selection of gourmet coffee blends, allowing the recipient to enjoy a complete treat experience.
Conclusion
No matter how you choose to serve them, these chocolate brownie cookies are sure to delight and impress. Their rich flavor, combined with various serving suggestions, makes them a versatile addition to any occasion—from casual snacks to elegant desserts. Embrace your creativity and enjoy experimenting with these different serving ideas to make the most of these irresistible treats!
Additional Tips
To ensure the best results when baking, consider these additional tips that will enhance the flavor, texture, and overall quality of your cookies:
1. Chocolate Quality
Using high-quality chocolate is crucial for achieving a rich and intense flavor in your cookies. Opt for dark chocolate that has a cocoa content of at least 70%. This higher cocoa percentage not only provides a deeper chocolate flavor but also offers a touch of bitterness that balances the sweetness of the cookie. When selecting chocolate, look for brands that use minimal ingredients—pure cocoa mass, cocoa butter, sugar, and perhaps a hint of vanilla. Avoid chocolates with excessive additives or artificial flavorings, as they can compromise the overall taste of your cookies. For an even more luxurious touch, consider using single-origin chocolate, which can impart unique flavor notes depending on its source.
2. Chill Time
Chilling the dough is an essential step that should never be overlooked. After mixing your cookie dough, wrap it in plastic wrap or place it in an airtight container and refrigerate it for at least 30 minutes, although longer is often better. Chilling the dough allows the flavors to meld and develop, resulting in a more complex taste. Additionally, it firms up the fat in the dough, which helps prevent the cookies from spreading too much during baking. This step is particularly important for cookies that contain a lot of butter or chocolate, as it helps achieve a thicker, chewier texture. If you’re short on time, even a quick 15-minute chill can make a noticeable difference.
3. Baking Time
Baking time is critical when it comes to achieving the perfect cookie. Every oven is different, and slight variations in temperature can affect the outcome. To ensure your cookies are baked to perfection, keep a close eye on them during the final minutes of baking. Start checking for doneness a couple of minutes before the suggested baking time. The cookies should be golden brown around the edges but still slightly soft in the center. They will continue to cook on the baking sheet after being removed from the oven due to residual heat. If you overbake your cookies, they can become dry and crumbly, losing the desirable chewy texture. For best results, use an oven thermometer to check that your oven is calibrated correctly, as an inaccurate temperature can lead to uneven baking.
4. Add-ins
To elevate your cookies and add layers of flavor and texture, consider incorporating various add-ins. Chopped nuts, such as walnuts, pecans, or almonds, can provide a delightful crunch and a nutty richness that complements the chocolate. Toasting the nuts before adding them to the dough can enhance their flavor even further. Additionally, chocolate chips—whether semi-sweet, milk chocolate, or white chocolate—can be mixed in for an extra burst of sweetness and gooey texture. Dried fruits, such as cranberries or cherries, can also be a great addition, offering a tart contrast to the sweetness of the cookie. Spice enthusiasts might enjoy adding a dash of cinnamon or a sprinkle of sea salt on top before baking to enhance the flavor profile even further. Don’t be afraid to experiment with different combinations to create your signature cookie!
By paying close attention to these details, you can significantly improve the quality of your cookies, ensuring a delightful treat that will impress family and friends alike. Happy baking!
FAQs
Can I use milk chocolate instead of dark chocolate?
Yes, you can substitute milk chocolate for a sweeter taste, though it may affect the overall richness of the cookies.
How do I store these cookies?
Store them in an airtight container at room temperature for up to 14 days. To maintain freshness, add a slice of bread to the container.
Can I freeze the dough?
Absolutely! You can freeze the dough for up to three months. When ready to bake, let the dough thaw slightly before shaping and baking.
Are these cookies gluten-free?
No, they are not gluten-free due to the all-purpose flour. However, you can experiment with gluten-free flour blends as a substitute.
Conclusion
These Easy Chocolate Brownie Cookies are truly a delightful treat that combines the best of two beloved desserts—brownies and cookies. Perfect for any occasion, they cater to chocolate lovers of all ages with their rich, indulgent flavor and satisfying textures. The fudgy interior is reminiscent of classic brownies, offering a gooey, melt-in-your-mouth experience, while the crisp, slightly chewy edges provide that quintessential cookie crunch. This harmonious balance of softness and crunch makes these cookies a standout on any dessert table.
One of the best things about these cookies is their versatility. They can be dressed up or down, depending on the occasion. For a simple, everyday treat, enjoy them with a cold glass of milk or a steaming cup of coffee. If you’re looking to impress at a party or special event, you can add a dusting of powdered sugar, a drizzle of melted chocolate, or even a sprinkle of sea salt to enhance their visual appeal and flavor profile. These small touches can elevate your cookies from a casual snack to an elegant dessert.
Baking these cookies at home is not only rewarding but also a wonderful way to bring a sense of warmth and togetherness to your kitchen. The process is straightforward and beginner-friendly, thanks to the detailed instructions and helpful tips provided. From melting the chocolate to achieving the perfect dough consistency, every step is designed to ensure your cookies turn out just right. Even if you’re new to baking, you can confidently whip up a batch of these cookies and enjoy the fruits of your labor.
Another reason to love these cookies is how adaptable they are to personal preferences. If you’re a fan of extra texture, consider adding chopped nuts, like pecans or walnuts, to the dough. For a burst of flavor, mix in some chocolate chips, white chocolate chunks, or even dried fruit. The possibilities are endless, and you can tailor the recipe to suit your taste or experiment with creative combinations.
These cookies also make for a thoughtful and heartwarming gift. Pack them in a decorative tin or wrap them in cellophane with a ribbon for a homemade present that’s sure to delight the recipient. Whether it’s for a holiday, a birthday, or just because, these cookies convey love and care in every bite.
In conclusion, these Easy Chocolate Brownie Cookies are much more than just a dessert—they’re an experience. They bring joy to those who bake them and those who savor them. With their irresistible flavor, delightful texture, and endless customizability, these cookies are destined to become a favorite in your baking repertoire. So, why wait? Gather your ingredients, preheat your oven, and get ready to indulge in some chocolatey goodness that will keep you coming back for more.
Print
Easy Chocolate Brownie Cookies
Ingredients
Creating these delectable cookies requires a handful of basic ingredients that you might already have in your pantry. Here’s what you’ll need:
- 225 g dark chocolate (50% – 70% cacao)
- 65 g butter
- 100 g all-purpose flour
- 1 tsp baking powder
- 2 eggs
- 80 g granulated sugar
- 80 g brown sugar (packed)
Instructions
1. Melt the Chocolate
The first step in creating these scrumptious cookies is to melt the chocolate. You can do this using a microwave or on the stove:
- Microwave Method: Place the dark chocolate and butter in a microwave-safe bowl. Heat in 30-second intervals, stirring in between, until both are completely melted and smooth.
- Stove Method: Use a double boiler to melt the chocolate and butter. Stir until smooth and well combined. Once melted, let it cool.
2. Mix Dry Ingredients
In a small bowl, combine the dry ingredients:
- 100 g all-purpose flour
- 1 tsp baking powder
- Add a pinch of salt to enhance the flavors.
3. Prepare the Mixture
In a large bowl, whisk together:
- 2 eggs
- 80 g granulated sugar
- 80 g brown sugar
Whisk until the mixture becomes creamy. Pour in the cooled, melted chocolate and mix until fully combined.
4. Combine Everything
Gradually add the dry mixture into the wet mixture. Stir until a thick dough forms, ensuring all ingredients are well incorporated.
5. Chill the Dough
Cover the bowl with plastic wrap and refrigerate for 1–2 hours. If you’re in a hurry, freeze the dough for 30 minutes for easier handling.
6. Shape the Cookies
Preheat your oven to 180°C (350°F). Scoop out the dough and roll it into walnut-sized balls. Place them onto a lined baking sheet, ensuring there’s space between each cookie for expansion during baking.
7. Bake
Place the baking sheet in the oven and bake for 8–10 minutes. The cookies should be soft when removed, as they will firm up while cooling.
8. Cool and Store
Let the cookies cool on a wire rack. Enjoy them fresh or store in an airtight container for up to 14 days to maintain their freshness.
Nutrition
- Serving Size: one normal portion
- Calories: 150
- Fat: 7g
- Carbohydrates: 20g
- Protein: 2g